

Introduction and Preparation
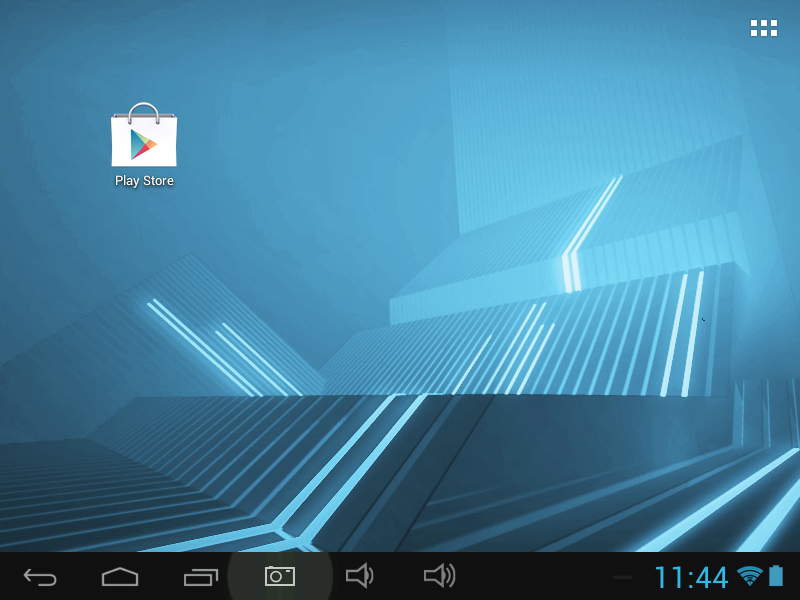
I figured I share this with the rest of the people out there owning a D2Pad 721 tablet and feeling frustrated with the lack of Google's app store, Google Play.
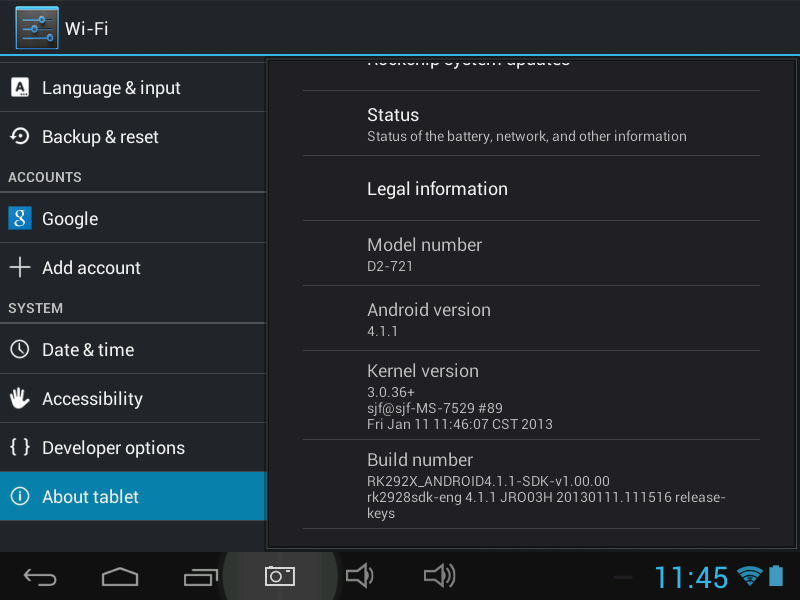
If you are considering purchasing this tablet here's a rundown on the specs:
Android Jellybean 4.1.1 powered by Rockchip 2928 1.2 GHz CPU, 1 GB of RAM and 4 GB of internal storage. Display resolution could be better but at 800 x 600 pixels, it's not too bad.
The only other tablet at this price range that has a better display resolution is the Avatar 7" Tablet S701-R2A-1 with 1024 x 600 pixels but with a slightly slower 1.0 GHz CPU and the equivalent 1 GB RAM and 4 GB internal storage at Amazon. The Avatar 7" tablet comes with Google Play. I kind of wish I went with the Avatar for the sharper display but oh well, too late for that now.
So, basically the one drawback to this tablet is the lack of Google Play - Google's app store. Sure, the built-in 1Mobile Market and Amazon Appstore could suffice for most consumers but would you really want to trust all of your app downloads from 1Mobile Market or Google? I prefer Google. In addition, I would assume app makers will publish their apps to Google Play before 1Mobile Market and/or Amazon Appstore.
In this article I'll provide instructions on how to root and install Google Play on the D2-721 tablet using a Windows 7 64-bit PC. I believe the following instructions should work on all MS Windows versions, 32-bit and 64-bit.
Let's get started with the "rooting process" of the tablet. Rooting your tablet means you'll gain full system access to your tablet (simply put). This is required to install Google Play.
Thanks to experts on XDA Developers Forum and Android Central Forum, I was able to put together this how-to guide by gathering and deciphering multiple posts from various forum members.
To begin, you'll need to visit this page to download the 2 attachments:
http://forum.xda-developers.com/showthread.php?t=1967699
I figured I share this with the rest of the people out there owning a D2Pad 721 tablet and feeling frustrated with the lack of Google's app store, Google Play.
If you are considering purchasing this tablet here's a rundown on the specs:
Android Jellybean 4.1.1 powered by Rockchip 2928 1.2 GHz CPU, 1 GB of RAM and 4 GB of internal storage. Display resolution could be better but at 800 x 600 pixels, it's not too bad.
The only other tablet at this price range that has a better display resolution is the Avatar 7" Tablet S701-R2A-1 with 1024 x 600 pixels but with a slightly slower 1.0 GHz CPU and the equivalent 1 GB RAM and 4 GB internal storage at Amazon. The Avatar 7" tablet comes with Google Play. I kind of wish I went with the Avatar for the sharper display but oh well, too late for that now.
So, basically the one drawback to this tablet is the lack of Google Play - Google's app store. Sure, the built-in 1Mobile Market and Amazon Appstore could suffice for most consumers but would you really want to trust all of your app downloads from 1Mobile Market or Google? I prefer Google. In addition, I would assume app makers will publish their apps to Google Play before 1Mobile Market and/or Amazon Appstore.
In this article I'll provide instructions on how to root and install Google Play on the D2-721 tablet using a Windows 7 64-bit PC. I believe the following instructions should work on all MS Windows versions, 32-bit and 64-bit.
Let's get started with the "rooting process" of the tablet. Rooting your tablet means you'll gain full system access to your tablet (simply put). This is required to install Google Play.
Thanks to experts on XDA Developers Forum and Android Central Forum, I was able to put together this how-to guide by gathering and deciphering multiple posts from various forum members.
To begin, you'll need to visit this page to download the 2 attachments:
http://forum.xda-developers.com/showthread.php?t=1967699
- Root RK29 Tab Toolkit 1.3.zip - [Click for QR Code] (3.91 MB)
- ADB Driver RK29.zip - [Click for QR Code] (8.27 MB)
USB Driver Installation for Windows 32-bit & 64-bit OS

Next, you'll need to connect your D2-721 tablet to your Windows PC using the bundled sync cable. Once you connect the tablet to the PC's USB port, Windows will attempt to install a device driver but will fail. This is because the device driver file is not on your Windows PC yet.
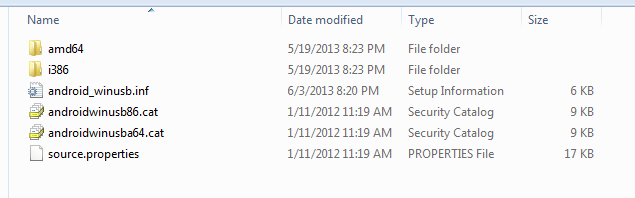
The necessary device driver file is located inside the "ADB Driver RK29.zip" file. However, you need to modify one of the files first. Browse into the folder containing the extracted files of the ADB Driver RK29.zip file (as shown in screenshot above). Locate the file android_winusb.inf and Open it using Notepad (right clicking on the file should give you the option "Open With" then select Notepad).
The necessary device driver file is located inside the "ADB Driver RK29.zip" file. However, you need to modify one of the files first. Browse into the folder containing the extracted files of the ADB Driver RK29.zip file (as shown in screenshot above). Locate the file android_winusb.inf and Open it using Notepad (right clicking on the file should give you the option "Open With" then select Notepad).
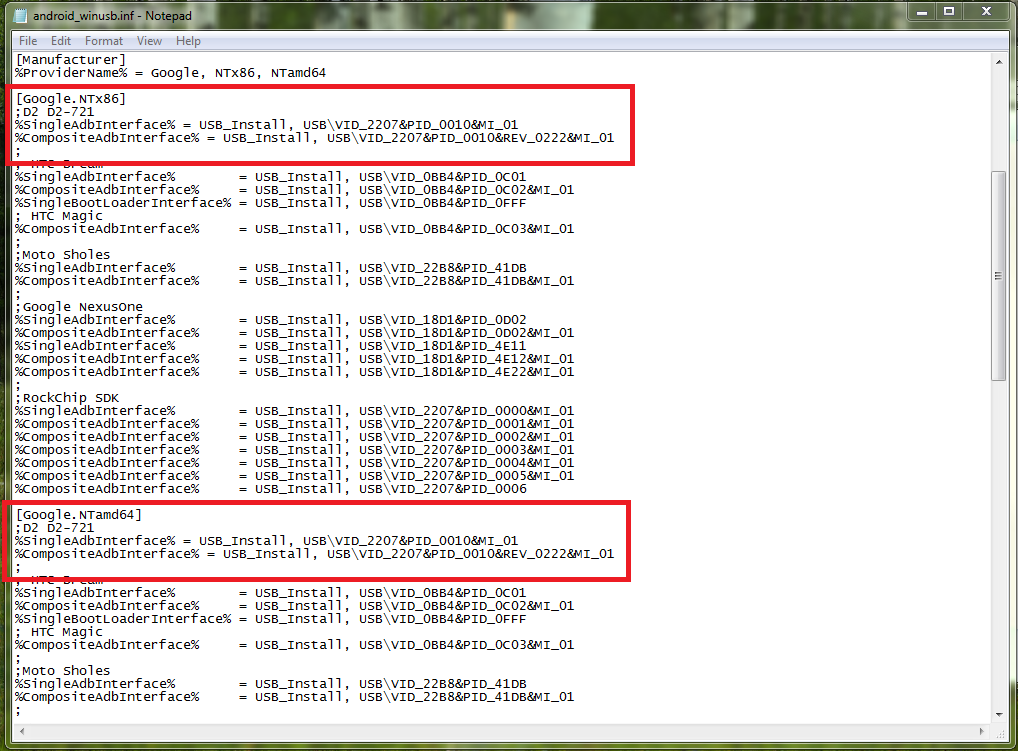
Scroll down to where you see "[Google.NTx86]" in the .INF file you just opened and insert the following code (D2-721 Hardware ID codes) highlighted in bold below (compare with the red highlighted boxes in the screenshot below) :
[Google.NTx86]
;D2 D2-721
%SingleAdbInterface% = USB_Install, USB\VID_2207&PID_0010&MI_01
%CompositeAdbInterface% = USB_Install, USB\VID_2207&PID_0010&REV_0222&MI_01
;
and scroll down to [Google.NTamd64] in the .INF file and insert the following code highlighted in bold:
[Google.NTamd64]
;D2 D2-721
%SingleAdbInterface% = USB_Install, USB\VID_2207&PID_0010&MI_01
%CompositeAdbInterface% = USB_Install, USB\VID_2207&PID_0010&REV_0222&MI_01
;
Save and close file. Your file must appear like the screenshot shown below of the INF file.
FYI: NTx86 is for 32-bit OS and NTamd64 is for 64-bit OS. Inserting both code lines enable you to use this .INF file (USB driver file) for both Windows 32 and 64 bit versions.

*** EXPERT Tip ***
You can find your tablet's Hardware ID code by going to Control Panel > Device Manager > Device (right click mouse button and properties) > Details > Hardware Ids.
If you have a variation of the D2 tablet which also uses the RK29 cpu then it may be feasible to root your tablet using the rest of the instructions in this article as long as you change the Hardware ID codes for your device into the android_winusb.inf file which we just modified above. Just remember that the first HW ID code which is the longer one is for the CompositeAdbInterface code line while the shorter HW ID code is for the SingleAdbInterface code line. (Note: This is only to get your Windows PC to properly recognize your tablet as a functional USB device so we can continue with the rooting process.)
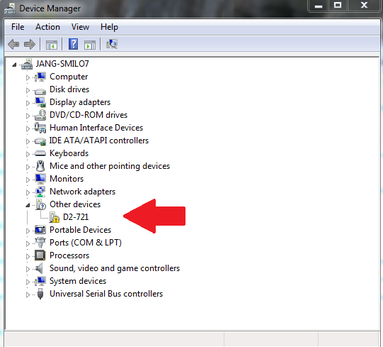
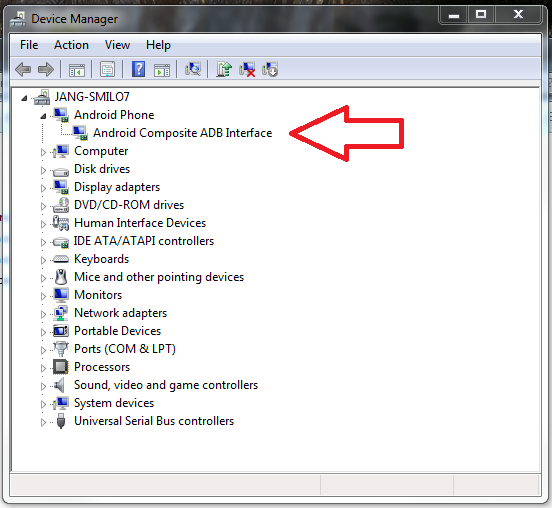
Now, with the tablet connected via USB cable to your Windows PC, go to Control Panel > Device Manager. You should see in the list a yellow exclamation mark labeled D2-721.

Right click on this listing and update the driver by pointing it to the extracted folder where "android_winusb.inf" file is located.
It should be the ADB Driver RK29 folder. Make sure you go into the subfolder and locate the INF file.
It should be the ADB Driver RK29 folder. Make sure you go into the subfolder and locate the INF file.
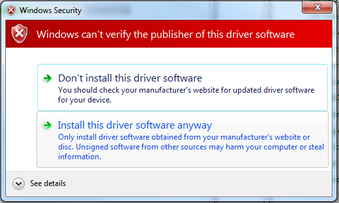
In order to complete the USB driver installation, you'll have to select "Install this driver software anyway."
If you feel uncomfortable with this then you can Google search digital signatures and driver files for Windows 7 by hardware vendors and the existence of an imperfect world when it comes to "verification of driver files with MS Windows."
Take a leap of faith and Install the driver software.
If you feel uncomfortable with this then you can Google search digital signatures and driver files for Windows 7 by hardware vendors and the existence of an imperfect world when it comes to "verification of driver files with MS Windows."
Take a leap of faith and Install the driver software.
Rooting Process
Next, you'll need to go into the extracted folder of Root RK29 Tab Toolkit 1.3.zip. Delve into the subdirectory and locate the "runme.bat" file. Once you double click this .bat file your PC will start the tablet rooting process.
During this process you will notice Windows System balloon pop-ups indicating Unknown Device errors. Rest assured this is normal - it happened to me and made me skeptical but I ran a test to see if the tablet was rooted after this and it was successful.
Make sure the process completes on its own. Do NOT interrupt the process. It takes about 2 minutes.
You can check if your tablet is rooted by downloading & running one of many root verifying apps such as "SuperSU" from the 1-Mobile Market.
Installing Google Play Store
You'll need to download the following 2 APK (app installation/setup) files to get started:
Download the Google Play APK Installation file here:
https://www.box.com/shared/91mm4qpqfsw9risc2uee
Download Titanium Backup APK installation file here:
https://www.box.com/shared/gevpiazj5q14riad46vl
Copy these APK files to an external microSD card to put in your tablet or copy them to a folder inside the tablet while connected via USB.
Using a file explorer app on your Android tablet, such as "ES File Explorer" (available on 1Mobile and Amazon Appstore), browse to where the 2 APK files are.
While in ES File Explorer:
Click on the Google Play (vending.apk) file to install it.
Do *NOT* open the Google Play app yet.
Next, click on the Titanium Backup APK file and install it.
Open Titanium Backup app.
In Titanium Backup, click on "Backup/Restore" and locate Google Market.
Tap on it once and you'll see a pop up window labeled "Backup properties".
At this point, swipe the screen to the left to bring up "Special Features".
Scroll down the list of options and select "Convert to system app"
After it finishes exit Titanium Backup.
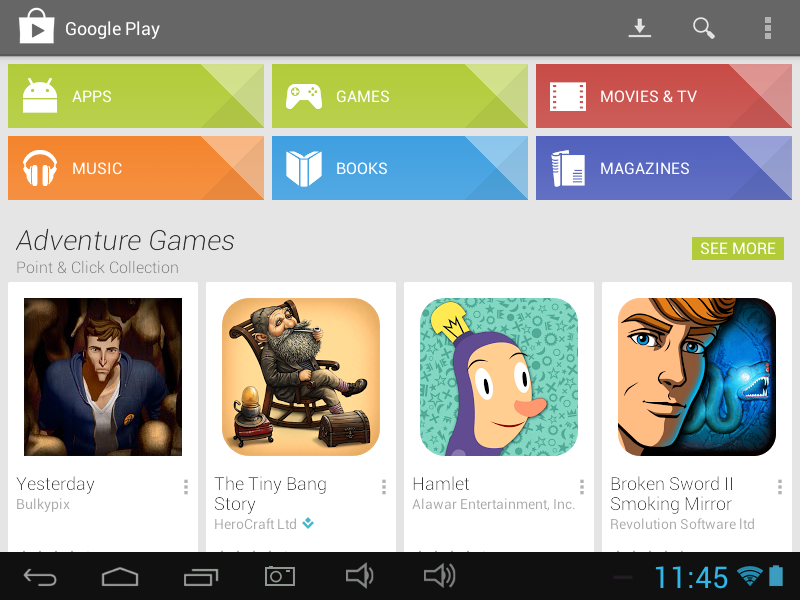
Launch the Google Play app a few times for it to fully update. You may want to restart the tablet once for good measure.
Enjoy.
You'll need to download the following 2 APK (app installation/setup) files to get started:
Download the Google Play APK Installation file here:
https://www.box.com/shared/91mm4qpqfsw9risc2uee
Download Titanium Backup APK installation file here:
https://www.box.com/shared/gevpiazj5q14riad46vl
Copy these APK files to an external microSD card to put in your tablet or copy them to a folder inside the tablet while connected via USB.
Using a file explorer app on your Android tablet, such as "ES File Explorer" (available on 1Mobile and Amazon Appstore), browse to where the 2 APK files are.
While in ES File Explorer:
Click on the Google Play (vending.apk) file to install it.
Do *NOT* open the Google Play app yet.
Next, click on the Titanium Backup APK file and install it.
Open Titanium Backup app.
In Titanium Backup, click on "Backup/Restore" and locate Google Market.
Tap on it once and you'll see a pop up window labeled "Backup properties".
At this point, swipe the screen to the left to bring up "Special Features".
Scroll down the list of options and select "Convert to system app"
After it finishes exit Titanium Backup.
Launch the Google Play app a few times for it to fully update. You may want to restart the tablet once for good measure.
Enjoy.
 RSS Feed
